Setup basic information
As part of the default onboarding process, Home Assistant can detect your location from IP address geolocation. Home Assistant will automatically select a unit system and time zone based on this location. If you didn’t adjust this directly during onboarding, you can do it later.
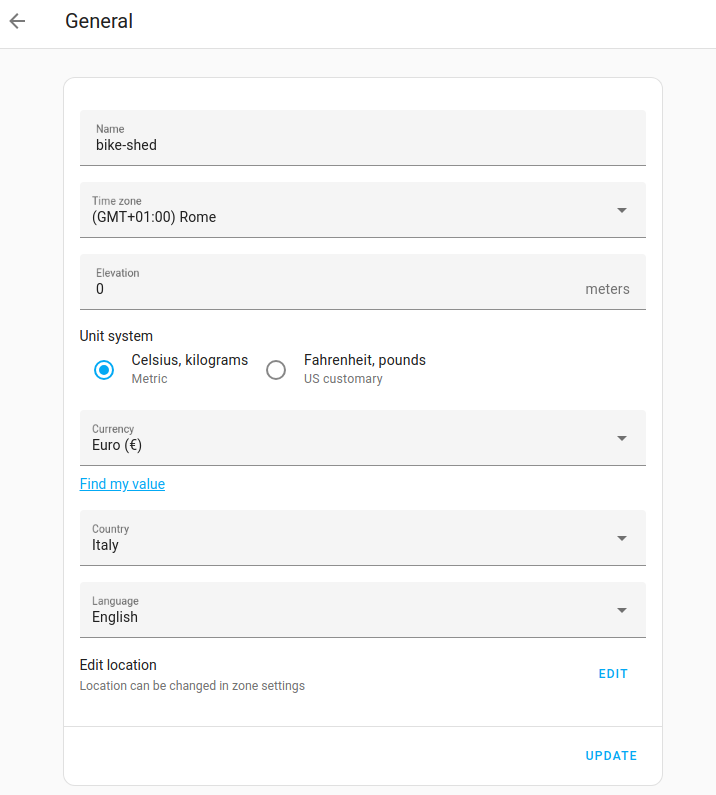 Screenshot showing the General settings page.
The general settings described here are managed by the Home Assistant Core integration. If you are interested in the actions offered by this integration, check out the integration documentation.
Editing the general settings
To change the general settings that were defined during onboarding, follow these steps:
-
Go to Settings > System > General.
- Make your changes.
- To change location or radius, under Edit location, select edit.
- Then, adjust location and radius.
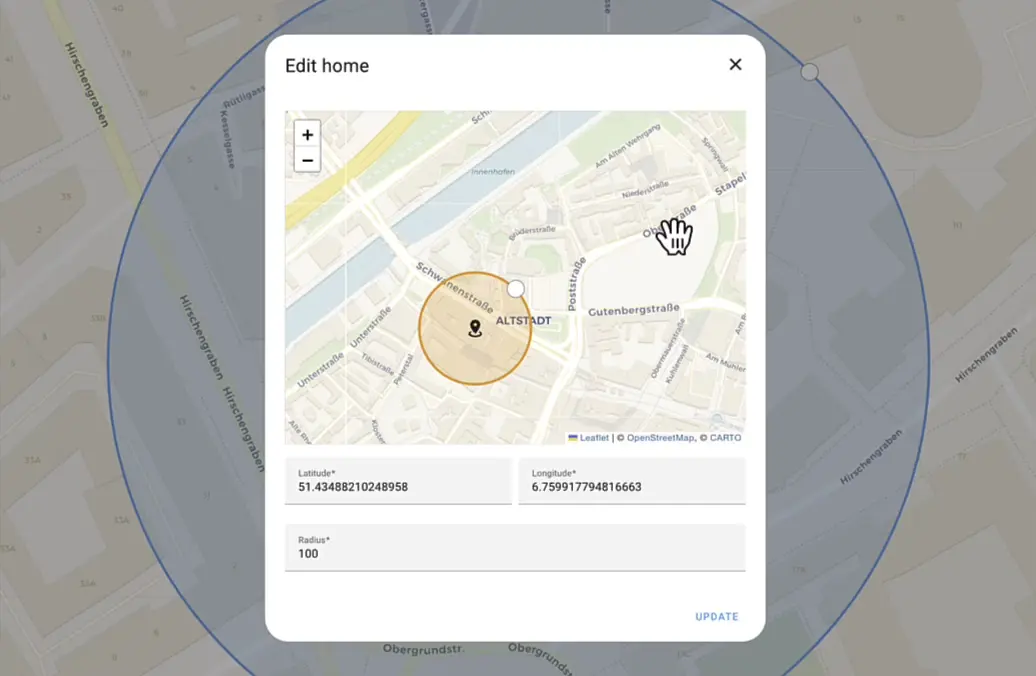
- To add a new zone, select Add zone.
- To save your changes, select Update.
-
To change network-related configuration, such as the network name, go to Settings > System > Network.
-
If some of the settings are not visible, you may need to enable Advanced mode.
- In the bottom left, select your username to go to your User profile, and enable Advanced mode.
-
Troubleshooting: If any of the settings are grayed out and can’t be edited, this is because they are defined in the
configuration.yamlThe configuration.yaml file is the main configuration file for Home Assistant. It lists the integrations to be loaded and their specific configurations. In some cases, the configuration needs to be edited manually directly in the configuration.yaml file. Most integrations can be configured in the UI. [Learn more] file.- If you prefer editing the settings in the UI, you have to delete these entries from the
configuration.yamlThe configuration.yaml file is the main configuration file for Home Assistant. It lists the integrations to be loaded and their specific configurations. In some cases, the configuration needs to be edited manually directly in the configuration.yaml file. Most integrations can be configured in the UI. [Learn more] file. - For more information about the general settings in YAML, refer to the Home Assistant Core integration documentation.
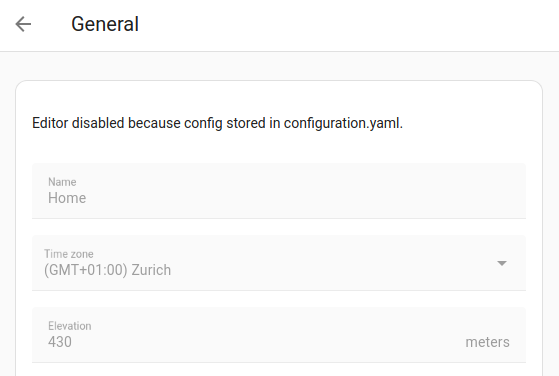
- If you prefer editing the settings in the UI, you have to delete these entries from the
-
To apply the changes, follow the steps on reloading the configuration.
Changing a person’s display name
The display name is the name that is shown in Home Assistant. It can differ from the username, which is the name used to log in.
Prerequisites
- You need administrator rights to change a display name.
To change a display name
- To edit the display name of a person using Home Assistant, go to Settings > People and select the person for which you want to change the display name.
- Change the display name and select Update to save the change.
Changing a username
The username is the name that is used to log in. It can differ from the display name.
Prerequisites
- You need owner rights to change a username.
To change a username
- To edit the username of a person using Home Assistant, go to Settings > People and select the person for which you want to change the display name.
- Change the username and select Update to save the change.
- It must be lowercase and contain no spaces.
- The log in is case-sensitive.
Changing authentication settings
To learn how to edit authentication settings such as password or multi-factor authentication, refer to the following topics: