Authentication
The authentication system secures access to Home Assistant.
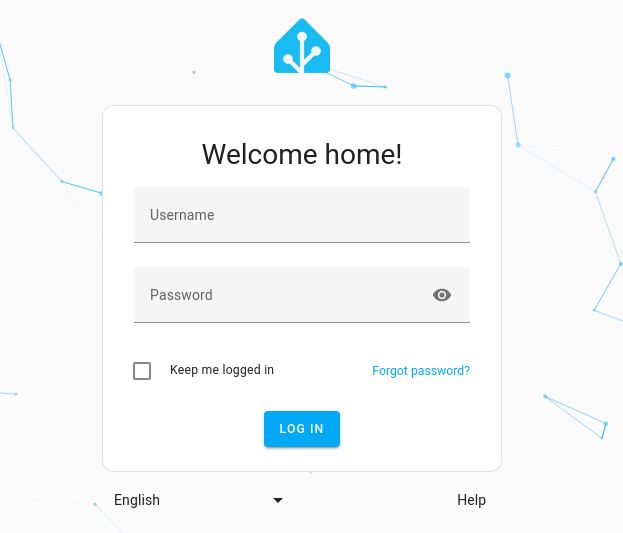
Login screen
You are greeted with a log in screen, asking you for username and password.
For information about user accounts, such as adding people, managing users, and changing display names or usernames, refer to user configuration.
Managing account access
Your password is the key to your home, so choose a strong, unique one. This matters even more once you access Home Assistant from outside your local network, where others could try to sign in, too. For extra protection, you can also turn on multi-factor authentication.
You can manage how you sign in from your own account profile.
To open it, go to User profile > Security tab . These settings only affect your own account.
On the Security tab, you can:
- Change your password.
- Turn multi-factor authentication on or off for an extra level of security.
- Manage your Refresh tokens. A refresh token is created each time you sign in from a device. Delete one to force that device to sign out.
- Unused refresh tokens are automatically removed. A refresh token is considered unused if it has not been used to sign in within 90 days. If you need a permanent token, we recommend using a long-lived access token instead.
- Create long-lived access tokens so scripts and apps can securely interact with Home Assistant.
Changing your account password
To change the password of your own account:
- Go to User profile and open the Security tab.
- In the Change password card, enter your Current password.
- Enter your New password, then enter it again under Confirm new password.
- Select Submit.
- Home Assistant asks whether you want to sign out of all other sessions. Select Yes to force every other device to sign in again with the new password, or No to keep them signed in.
Other authentication techniques
Home Assistant provides several ways to authenticate. See the Auth providers section.
Troubleshooting
Forgot username or password
If you can no longer sign in, or you forgot your username or password, refer to Help, I’m locked out!.
Authentication failures from 127.0.0.1
If you’re seeing authentication failures from 127.0.0.1 and you’re using the nmap device tracker, you should exclude the Home Assistant IP from being scanned.
Bearer token warnings
Under the new authentication system you’ll see the following warning logged when the legacy API password is supplied, but not configured in Home Assistant:
WARNING (MainThread) [homeassistant.components.http.auth] You need to use a bearer token to access /blah/blah from 192.0.2.4
If you see this, you need to add an api_password to your http: configuration.
Bearer token informational messages
If you see the following, then this is a message for integration developers, to tell them they need to update how they authenticate to Home Assistant. As an end user you don’t need to do anything:
INFO (MainThread) [homeassistant.components.http.auth] You need to use a bearer token to access /blah/blah from 192.0.2.4
Lost owner password
If you lose the password associated with the owner account, you need to start a new onboarding process.
Error: invalid client id or redirect URL

You have to use a domain name, not IP address, to remote access Home Assistant otherwise you will get Error: invalid client id or redirect url error on the login form. However, you can use the IP address to access Home Assistant in your home network.
This is because we only allow an IP address as a client ID when your IP address is an internal network address (such as 192.168.0.1) or loopback address (such as 127.0.0.1).
If you don’t have a valid domain name for your Home Assistant instance, you can modify the hosts file on your computer to fake one.
On Linux edit the /etc/hosts file, and add following entry:
12.34.56.78 homeassistant.home
Replace 12.34.56.78 with your Home Assistant’s public IP address.
This will allow you to open Home Assistant at http://homeassistant.home:8123/
Stuck on loading data
Some ad blocking software, such as Wipr, also blocks WebSockets. If you’re stuck on the Loading data screen, try disabling your ad blocker.