Common tasks - installation independent
This section provides tasks that do not depend on a specific Home Assistant installation type or a specific integration. They may be referenced in other procedures.
Enabling or disabling entities
Some entitiesAn entity represents a sensor, actor, or function in Home Assistant. Entities are used to monitor physical properties or to control other entities. An entity is usually part of a device or a service. [Learn more] are disabled by default. Whether a particular entity of a device is disable or enabled by default, depends on the integration. Diagnostic entities for example are often disabled by default so that they don’t clutter Home Assistant. For example, the RSSI entity (representing the RF signal strength) provided by the ZHA integration for each Zigbee device is disabled by default.
There are different ways to enable entitiesAn entity represents a sensor, actor, or function in Home Assistant. Entities are used to monitor physical properties or to control other entities. An entity is usually part of a device or a service. [Learn more]. You can enable a single entity in the entity settings, or you can enable multiple entities at once from the list of entities.
To enable or disable a single entity
-
Go to Settings > Devices & services and select your integration card.
-
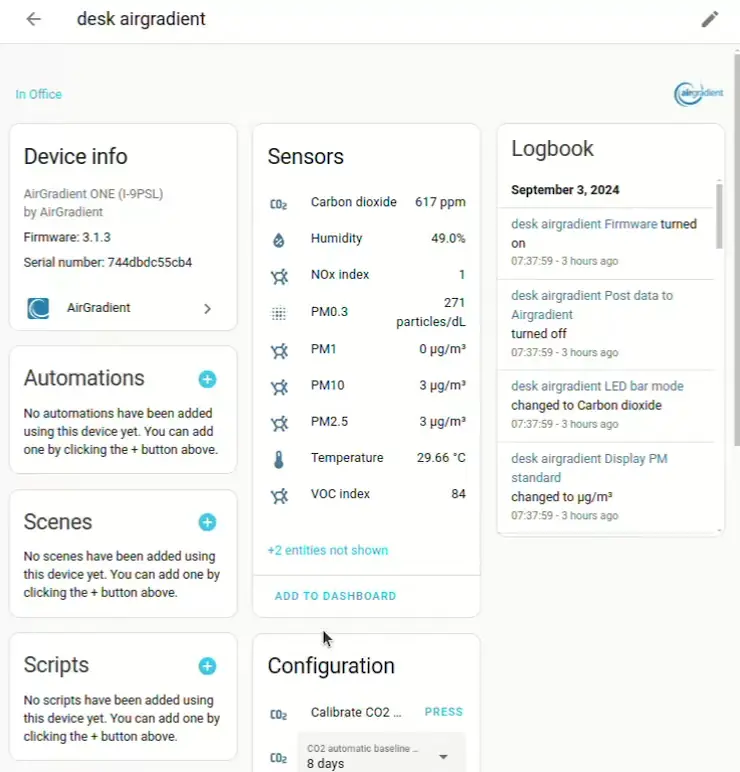
Select the device.
-
To see all the entities, you may need to expand the entity not shown section.
-
Select the entity of interest, select the cogwheel
, then select the toggle for Enable. -
Select Update.
-
Confirm the notification stating that it will take about 30 seconds for the entity to become enabled. Select OK.
To enable or disable multiple entities
-
In Home Assistant, open the table of interest.
- To enable or disable entities, go to Settings > Devices & Services > Entities.
- To enable or disable automations, go to Settings > Automations & Scenes.
-
Enable multiselect and select all the entities you want to enable or disable.
-
In the top right corner, select the three dots
menu, then select Enable or Disable. 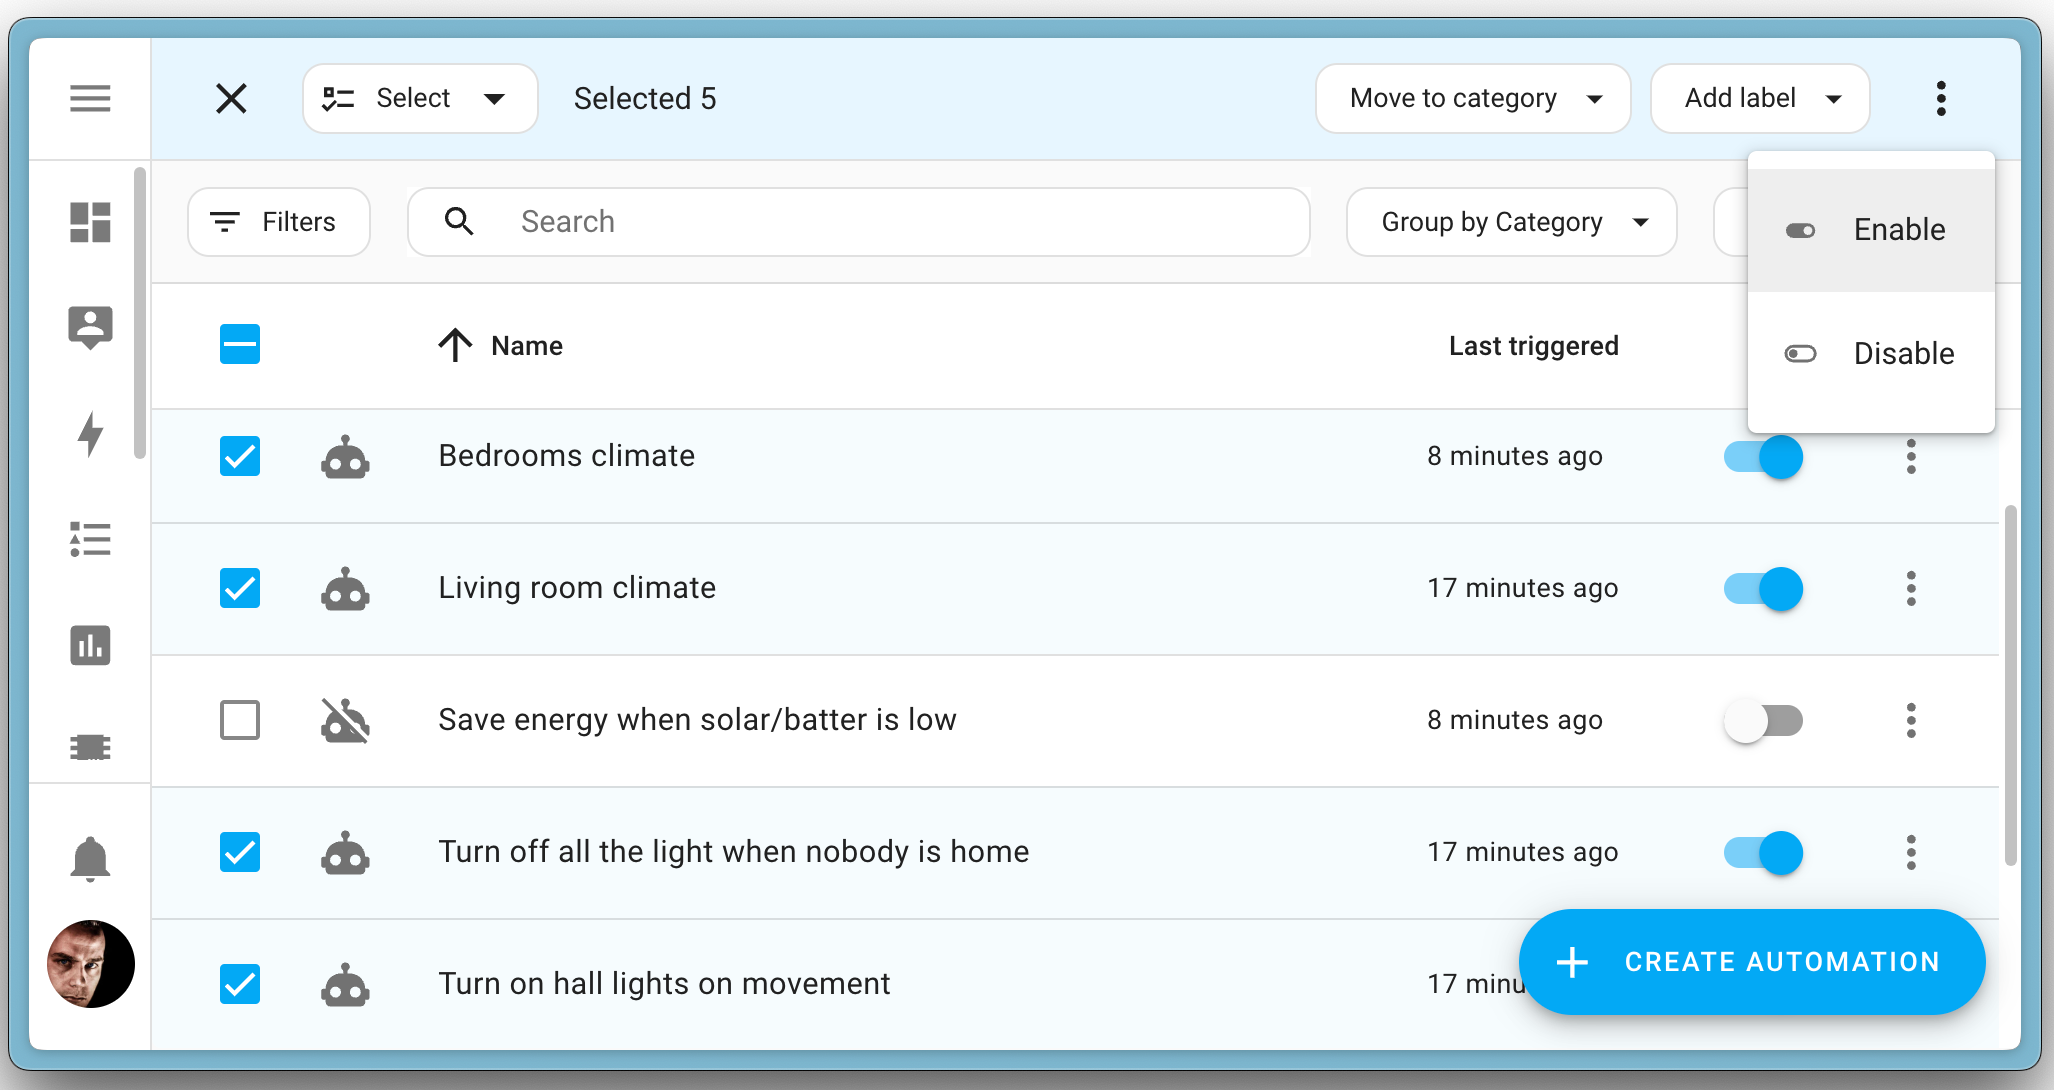
Related topics
Defining a custom polling interval
If you want to define a specific interval at which your device is being polled for data, you can disable the default polling interval and create your own polling automation.
What is data polling?
Data polling is the process of querying a device or service at regular intervals to check for updates or retrieve data. By defining a custom polling interval, you can control how frequently your system checks for new data, which can help optimize performance and reduce unnecessary network traffic.
Why use an automation instead of changing the integration’s polling configuration?
Creating an automation for polling gives you more flexibility on when to poll:
- Not all integrations have a configurable polling interval. The homeassistant.update_entity service, on the other hand, works with most of the integrations; no code changes are required.
- An automation allows you to poll whenever you want. For example, if you have a rate-limited solar panel provider with a maximum number of requests per day, you may want to lower/stop the polling at night but poll more frequently during the day.
If you want to define a specific interval at which your device is being polled for data, you can disable the default polling interval and create your own polling automation.
To add the automation:
- Go to Settings > Devices & services, and select your integration.
- On the integration entry, select the
. - Then, select System options and toggle the button to disable polling.
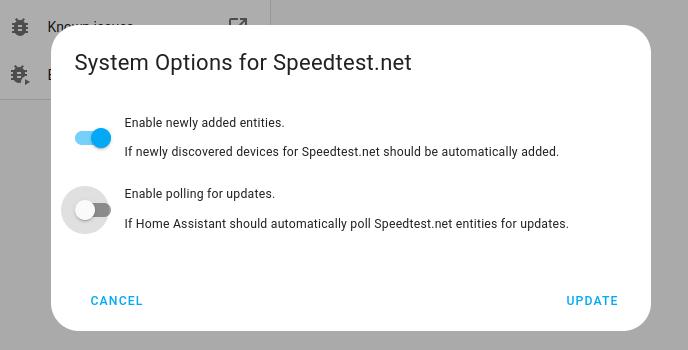
- Then, select System options and toggle the button to disable polling.
- To define your custom polling interval, create an automation.
- Go to Settings > Automations & scenes and create a new automation.
- Define any trigger and condition you like.
- Select Add action, then, select Other actions.
- Select Perform action, and from the list, select the
homeassistant.update_entityaction.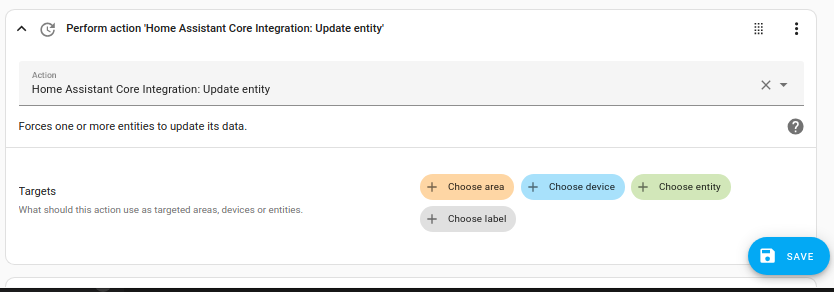
- Save your new automation to poll for data.
Removing an integration instance
If you no longer want to use a device or service in Home Assistant, you can remove the integration instance including the device or service with all its entities.
The following steps describe the general steps needed to remove an integration instance. Depending on the integration, additional steps can be needed, such as resetting the device or to delete credentials. Refer to the integration documentation to see if additional steps are needed.
To remove an integration instance from Home Assistant
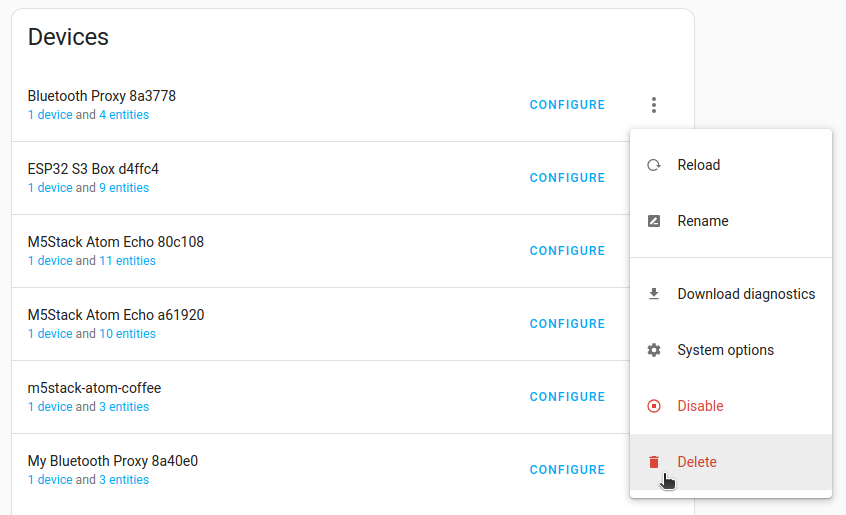
- Go to Settings > Devices & services and select the integration card.
- From the list of devices, select the integration instance you want to remove.
- Next to the entry, select the three-dot
menu. Then, select Delete.
