Tags
Home Assistant allows using tags to automate anything. Home Assistant is compatible with any type of tag. Our mobile apps work out of the box with NFC tags, but anything that can read IDs from something can be used.
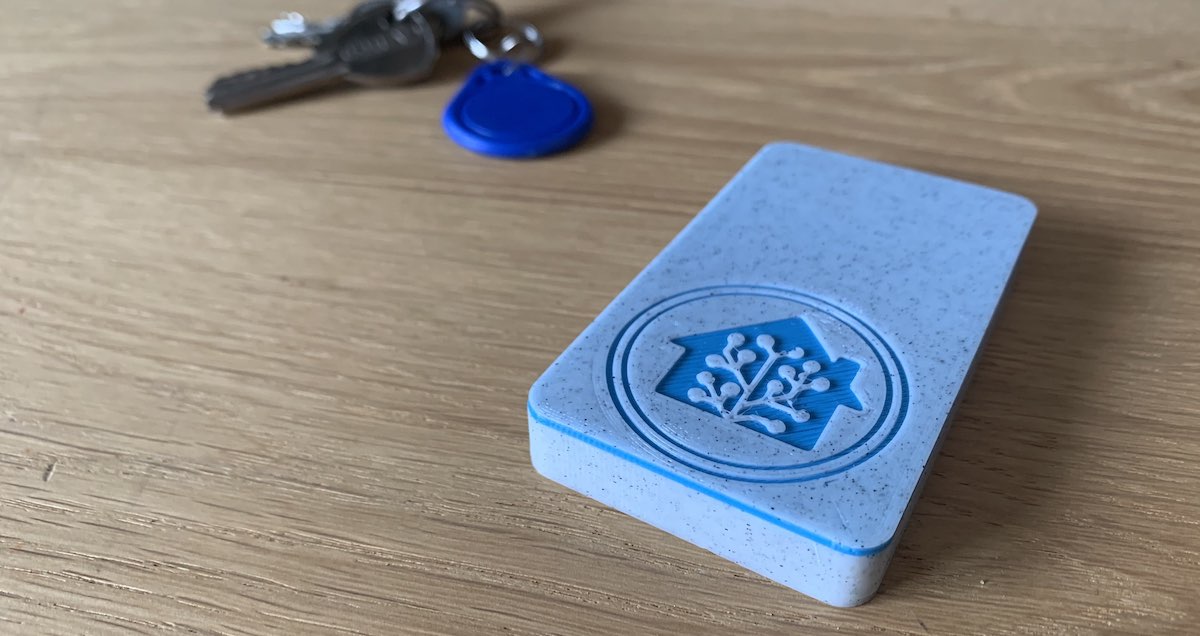
To make tags accessible to anyone in your house hold, there is also a standalone tag reader available that works with Home Assistant.
Writing your first tag
The easiest way to get started with tags is to use NFC tags (stickers, cards) with the official Home Assistant mobile apps. Once you have written a card, hover it with your phone to scan it.
Only iPhone XS, XR and iPhone 11 or later support background NFC tag reading.
Managing tags
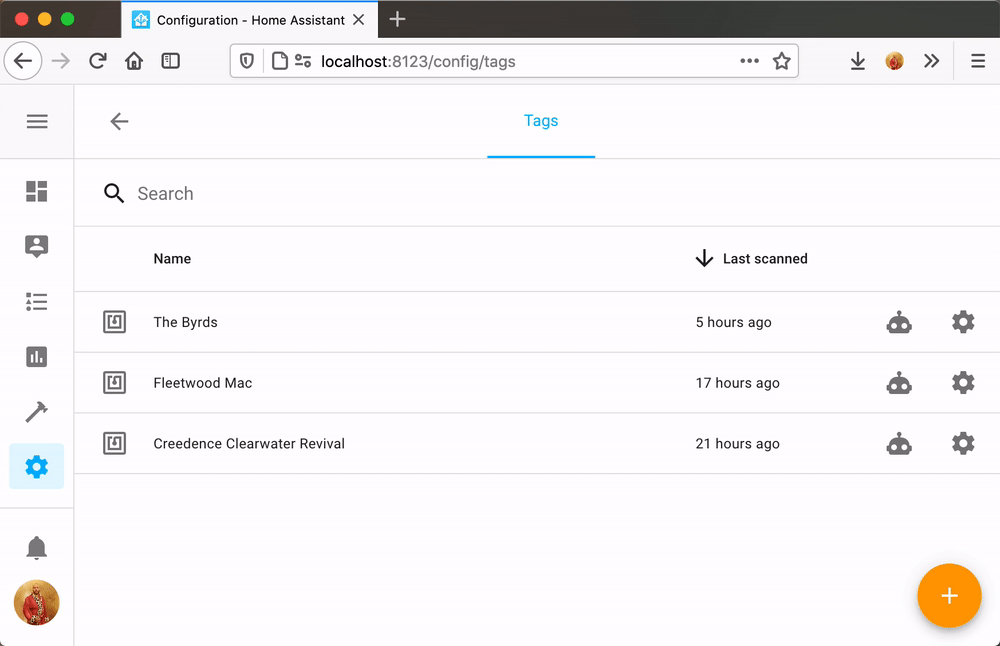
Home Assistant has a dedicated panel that allows you to manage your tags. You can add names, automate or delete them. If you open the tag dashboard from the mobile app, you can also write them directly to a tag.
Entities
Every card automatically creates an tag entity. This is useful for automations or for displaying on dashboards to see when the card was last scanned.
State shows the time when the card was last scanned in datetime string format. For example, 2013-09-17T07:32:51.095+00:00
Attributes
- Tag ID: identification as set during creation of the tag.
- Last scanned by device ID: Which device did scan the tag last time, useful in automations for doing different things depending on which device scanned the tag.
Building an RFID jukebox
One of the most fun applications of tags is to pick music in your living room. To make this super easy, you can use the below automation:
automation:
- alias: "Handle Tag Scan"
  # Hide warnings when triggered while in delay.
  max_exceeded: silent
  variables:
    # Map scanner device ID to media player entity ID
    media_players:
      0e19cd3cf2b311ea88f469a7512c307d: media_player.spotify_balloob
    # Map tag ID to content
    tags:
      A7-6B-90-5F:
        media_content_id: spotify:album:0h2knr6qpiAq0tV5ri5JMF
        media_content_type: album
      04-B1-C6-62-2F-64-80:
        media_content_id: spotify:playlist:0OtWh3u6fZrBJTQtVBQWge
        media_content_type: playlist
  triggers:
    - trigger: event
      event_type: tag_scanned
  conditions:
    # Test that we support this device and tag
    - "{{ trigger.event.data.tag_id in tags }}"
    - "{{ trigger.event.data.device_id in media_players }}"
  actions:
    - variables:
        media_player_entity_id: "{{ media_players[trigger.event.data.device_id] }}"
        media_content_id: "{{ tags[trigger.event.data.tag_id].media_content_id }}"
        media_content_type: "{{ tags[trigger.event.data.tag_id].media_content_type }}"
    - action: media_player.play_media
      target:
        entity_id: "{{ media_player_entity_id }}"
      data:
        media_content_id: "{{ media_content_id }}"
        media_content_type: "{{ media_content_type }}"
    - delay: 2 # timeout before we allow processing next scan
To find your scanner’s device ID, open Developer tools -> Events -> Listen to events and subscribe to tag_scanned.
Then scan a tag on the reader and note down the device_id from the data section.
Printing tags
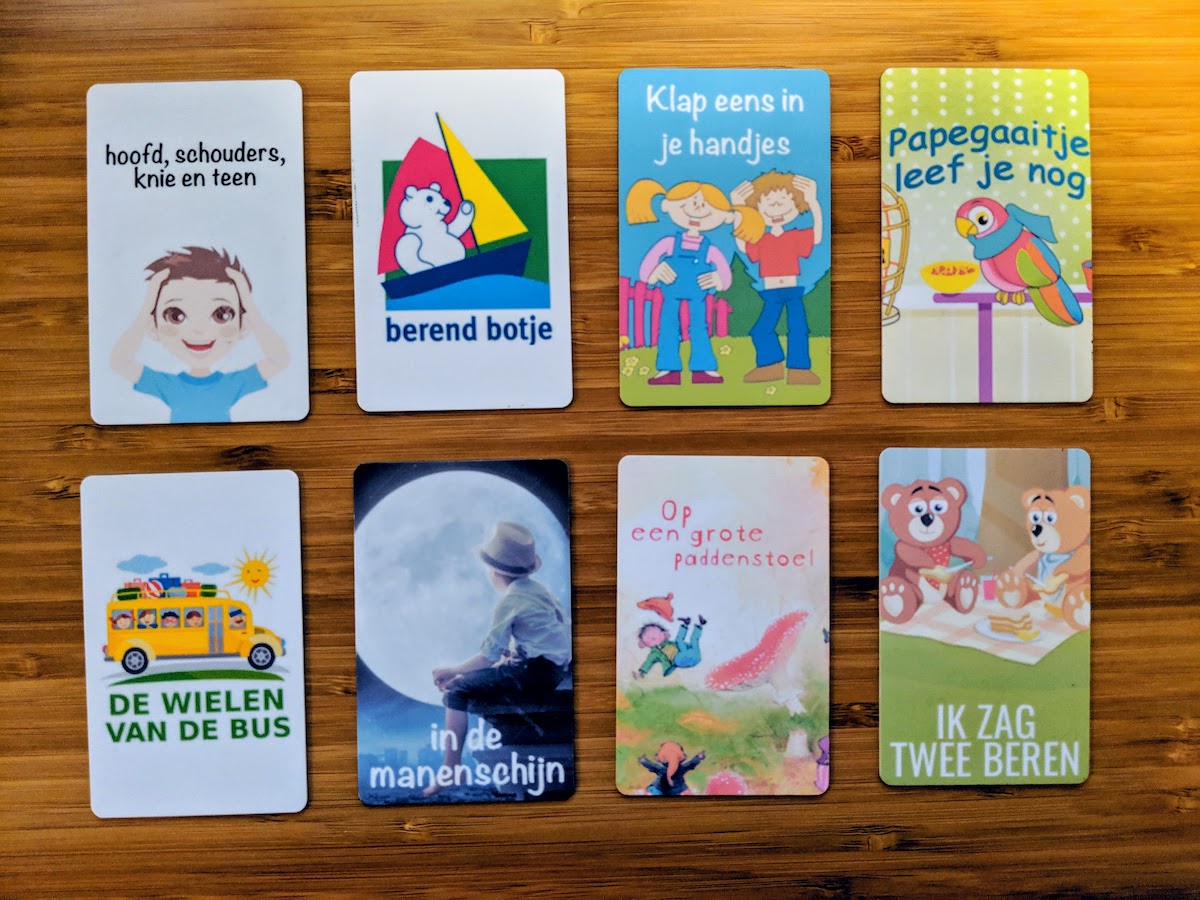
NFC tags come in many different shapes and formats. NFC Stickers are great to make existing objects scannable, like books or photos. But another fun use case is to get printable NFC cards. The great thing about these cards is that they are very accessible. Kids as young as 1 year old will be able to use it.
To get started with printing cards, you need the following hardware:
The seller of above tray + cards also made an ID card printing app available to prepare printable PDFs. It runs fully in your browser and no data is sent to their server. If you’ve used above equipment, pick Canon MP tray as what you’re printing on.
Happy printing!
Tag scanned events
When a tag is scanned, the tag_scanned event is fired. This event contains the values:
| Value | Description |
|---|---|
tag_id |
Identifier of the tag. Use this to decide what to do. |
name |
Name of the tag. The name is not unique. Multiple tags can have the same name. |
device_id |
Device registry identifier of the device that scanned the tag. Use this to decide where to do it. |